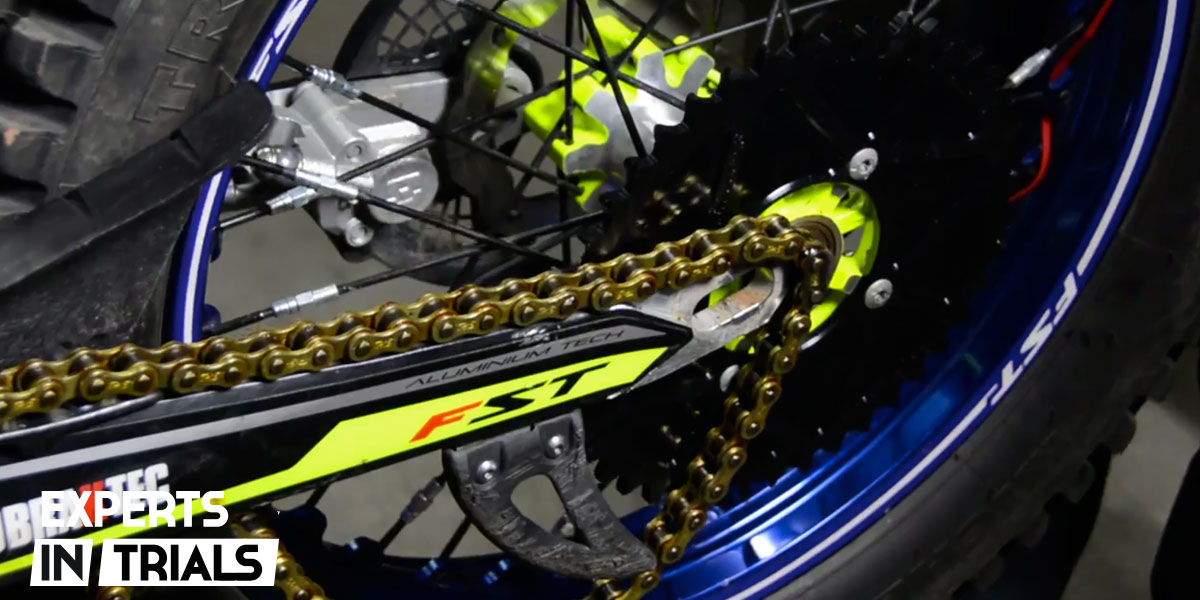
Before addressing how the tensioning and detensioning process is executed to achieve the ideal heights, it may be the case that in trial bikes with a certain age the eccentrics (tensioners that are located on both sides of the axle) are at their maximum point of tension. In this case, it is mandatory to replace the entire transmission kit.
Regarding eccentrics, it is worth remembering that the auxiliary industry sells spare parts in different colors and serrations. Basically, the advantage is in the lightness.
Below we will see what is just as harmful to a de-tensioned chain as an over-tensioned chain.

TRIAL TRANSMISSION KIT IN POOR CONDITION
A de-tensioned
trial
chain makes the bike have a slow response to the throttle, because the first turn of the sprocket is intended for the chain to stretch and once stretched, the power is transferred to the rear axle.
As for the duration of the drag kit, a chain that is subject to continuous tension changes increases the wear of all the elements involved in the transmission of power to the rear axle, thus reducing its useful life.
We cannot forget the imminent risk that we run that the chain will come off, the sprocket will continue its movement and the chain will end up tangled up damaging the crankcase of the motorcycle.
At the opposite end of the spectrum we can find a chain that is too taut. In this case, the element that suffers the most is the pinion, specifically the bearing of the secondary axle of the derailleur.
On the other hand, we must bear in mind that when we climb steps the shock absorber compresses, the rear wheel rises and as a consequence the chain tightens even more, running the risk of breaking.
TOOLS FOR CHAIN MAINTENANCE
We will only need a tool to loosen the rear axle. Depending on the motorcycle model, it is usually a 23-24 fixed wrench or even an Allen screw on more modern motorcycles.
PRODUCTS FOR THE MAINTENANCE OF THE TRIAL CHAIN
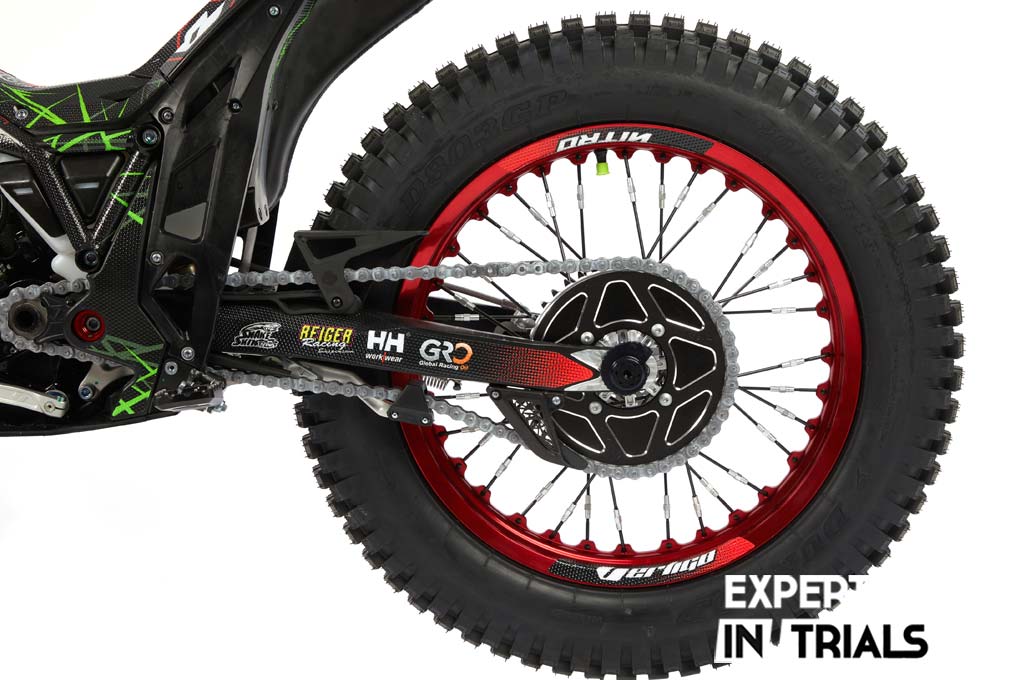
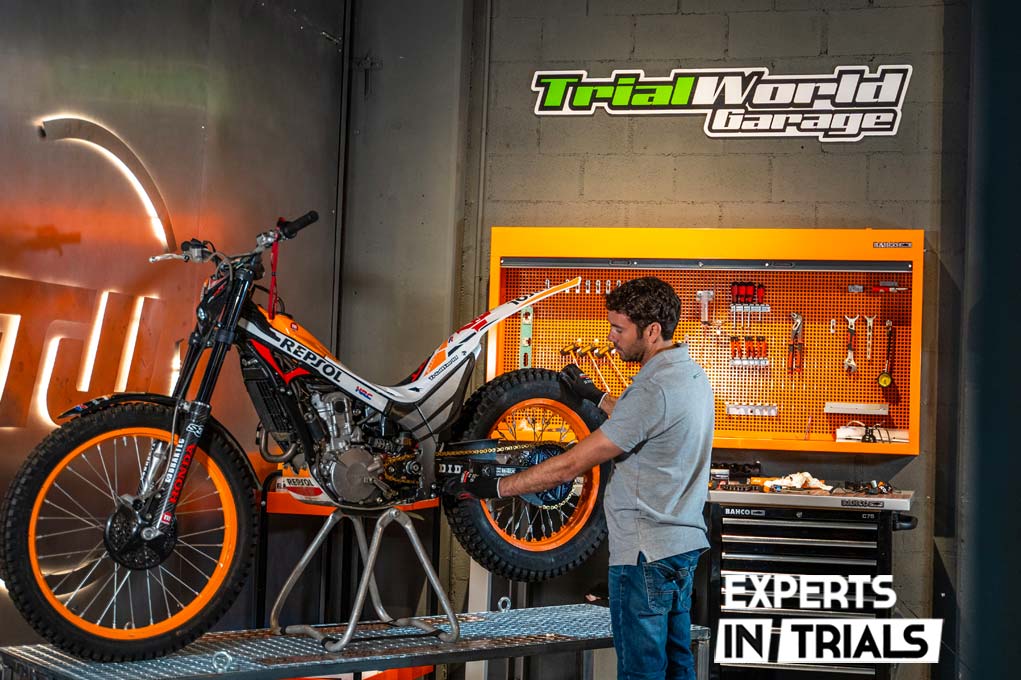
Chain adjustment on the trial bike
Step 1 – Loosen the rear axle. There is no need to loosen the screws.
Step 2 – Adjust the eccentrics on both sides equally until the desired one-finger distance between the chain tensioner and the swingarm is achieved.
Tip: Often the tension of the chain causes the eccentrics to exert great pressure against the swingarm, making it difficult for them to move. To alleviate this, once the shaft is loosened, we will use our left hand to lower the tensioner. Once this action has been carried out, we keep it at that point and we see that the eccentrics are freed from pressure, facilitating the task of regulation.
Step 3 – Tighten the rear axle.
Check: With the passage of time, the spring of the chain tensioner loses strength and perhaps a finger away from the swingarm is not enough to achieve an optimal tension. Therefore, we must check that it acts correctly in the following way:
Step 3.1 – Lower the tensioner to observe that the chain is loosened.
Step 3.2 – Then we release the tensioner suddenly and we must observe that the chain is tightened.
Replace transmission kit on trial bikes
In case it is necessary
to replace the transmission kit on your trial bike
, you will need these materials:
Products: crown for trial bikes (you must select the number of teeth), attack sprocket for trial bikes (you must select the number of teeth and model of your bike) and chain for trial bikes
All of these products are available in the
Trial Bike Transmission Kit section of the Trialworld Store
.
Spare Parts for Trial Motorcycle Transmission Kit
- Chain for trial bikes step 520
- Chain link for trial bikes step 520
- Attack sprocket transmission GASGAS TXT, Vertigo and TRRS (until 2017)
- TRRS transmission attack sprocket (since 2018)
- Attack sprocket transmission SHERCO ST Trial and SCORPA SC
- Attack sprocket transmission MONTESA COTA 4RT and 4RIDE
- Attack sprocket transmission BETA EVO, BETA TECHNO and BETA REV3
- BETA EVO, BETA TECHNO and BETA REV3 transmission crown
- Transmission Crown for Trial Bikes - S3 Parts
TrialWorld Garage - Alianza Bahco
