The gas grip is usually one of the great forgotten when it comes to maintenance and regulation. In this article we are going to give you the keys to clean, lubricate and adjust the accelerator grip correctly.
It is a key element in the safety of a trial bike that is exposed to shocks, water and dirt… All of these elements can cause the throttle to get stuck, thus preventing the return movement that decelerates the motorcycle.
WHAT TOOL DO I NEED?
·
Allen Wrench Set
· Fixed wrench 6-7
· Fixed Wrench 10-11
·
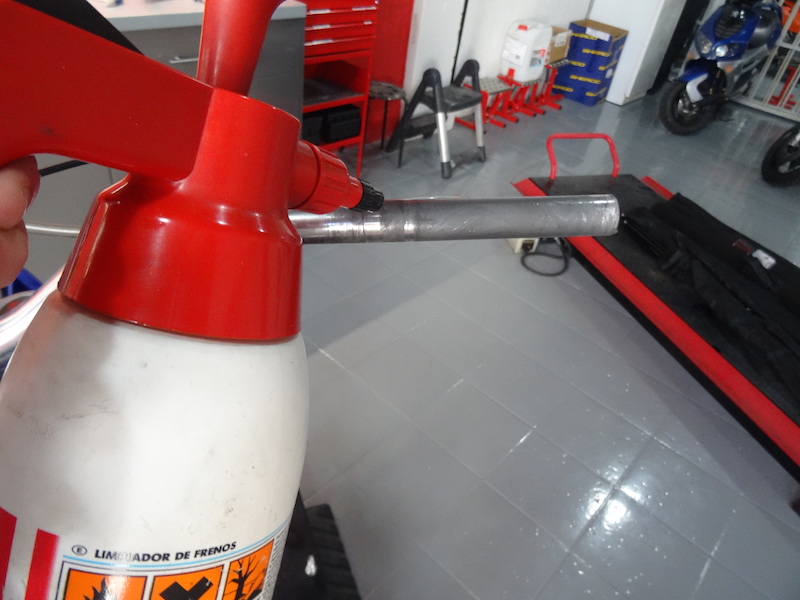
Multi-Purpose Spray
· Petrol
· Container
· Small brush or old toothbrush
· File
ABOUT THE THROTTLE GRIP
It is interesting to remember that the market offers different options of throttle grip with the aim of adapting the behavior of the motorcycle, providing a faster or smoother response, as well as a third option of adjustable gas rod, which allows the throttle response to be adapted to the circumstances, evolution and technical level of the rider.
> Fast throttle grip for trial bikes
> Slow throttle grip for trial bikes
> Adjustable throttle grip for trial bikes
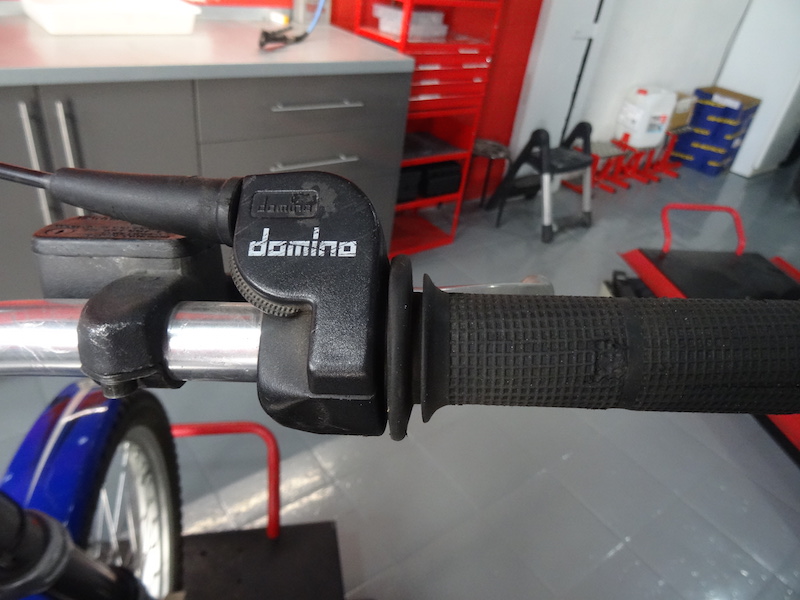
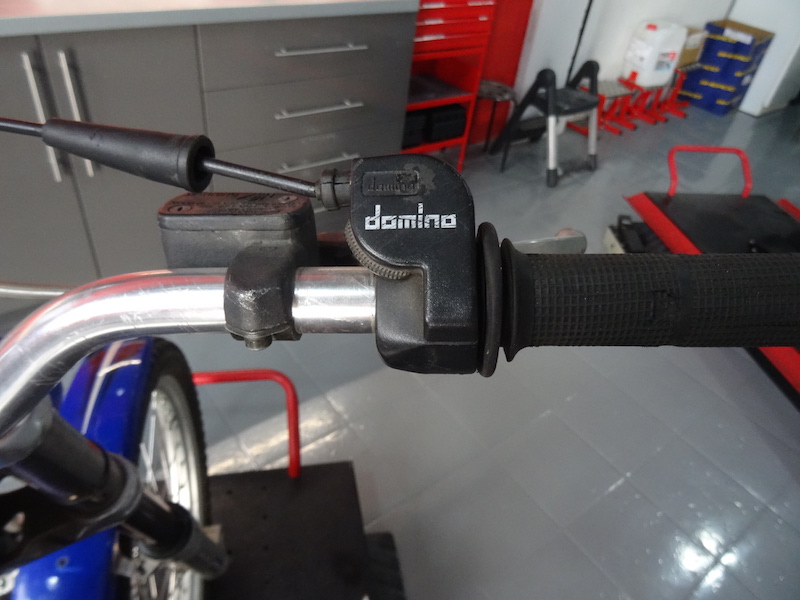
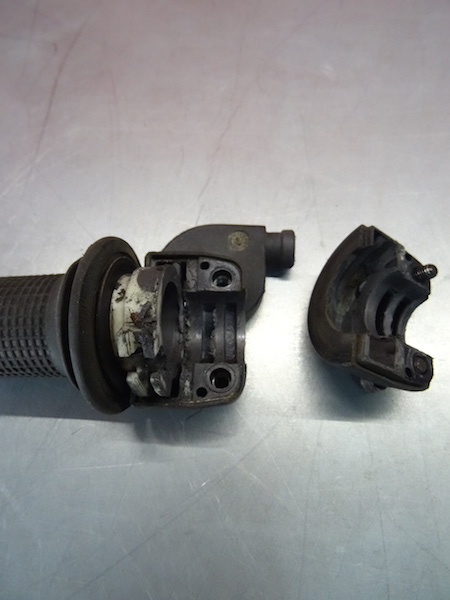
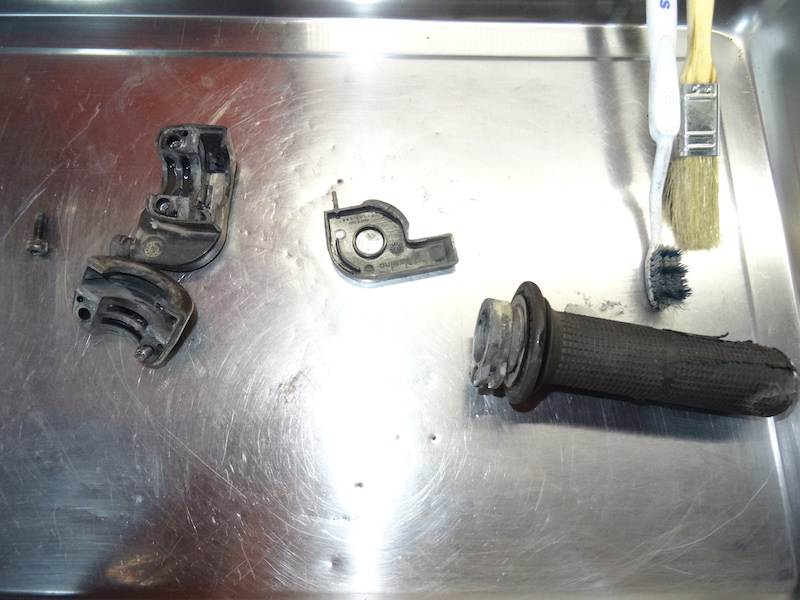
THROTTLE GRIP PARTS
If we disassemble the gas grip we will find the following parts:
> Knob and gas rod: in turn, both are separated by simply loosening two screws.
> Gas control pulley. It is responsible for receiving the gas cable from the carburetor and leading it to the anchor grip on the gas rod.
> Trial throttle cap: protects the gas grip from dirt and prevents the pulley from slipping out of place.
Spreader ring for the grip – the gas rod: prevents the grip from getting caught with the main body of the control due to involuntary friction.
MAINTENANCE AND ADJUSTMENT OF THE THROTTLE GRIP IN TRIALS
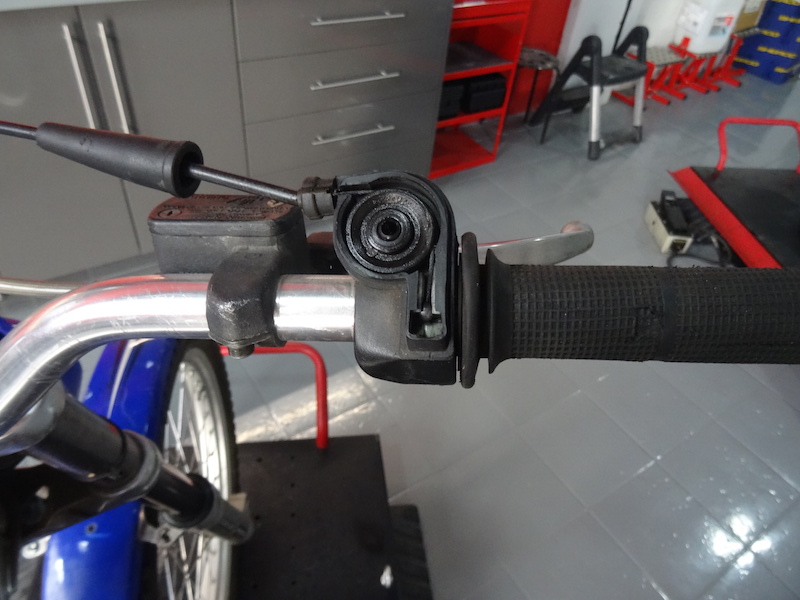
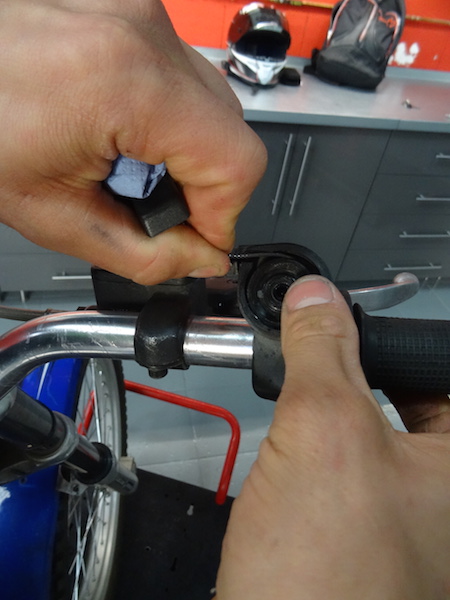
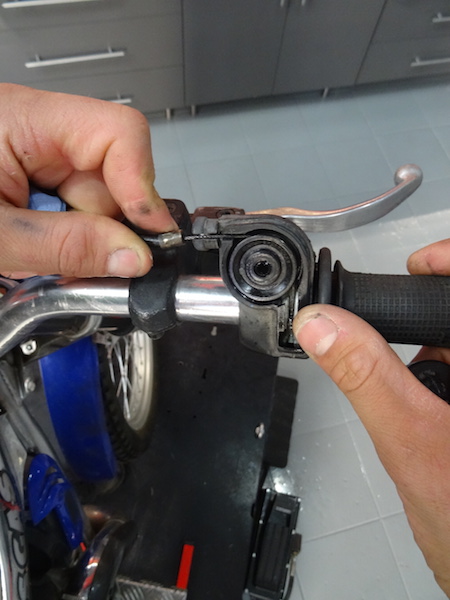
1. Disassembling the throttle grip:
We’ll start by releasing the cover that protects the cable on the throttle grip. Once removed, we will proceed to loosen it by pulling the cover until it is released. After this step, we can use the Allen wrench to loosen the screws that fix the throttle to the handlebars.
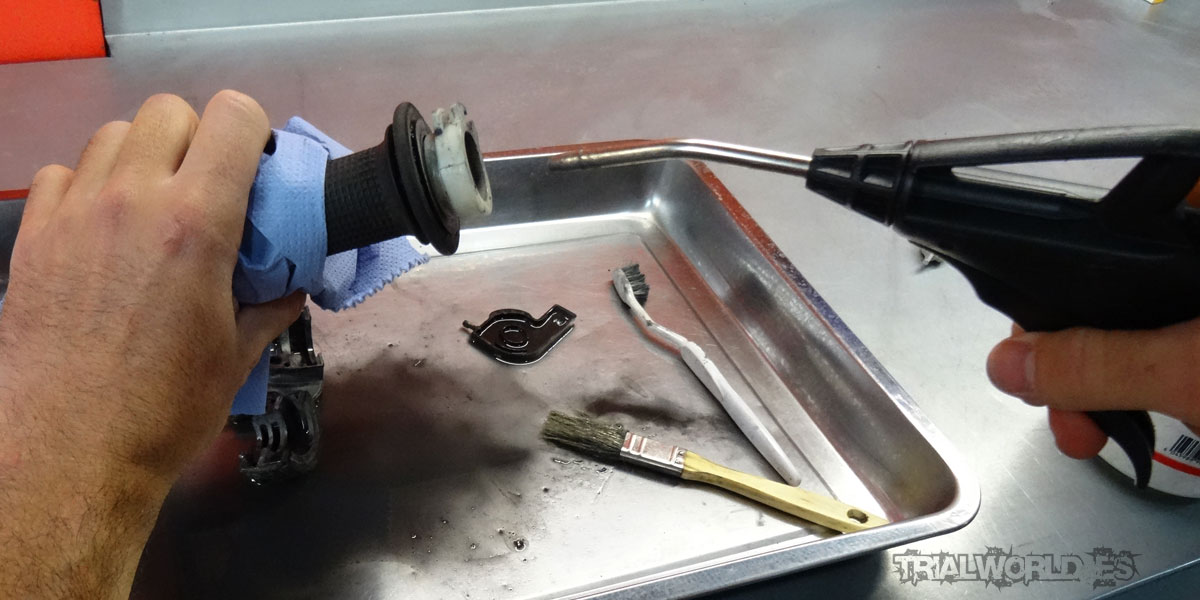
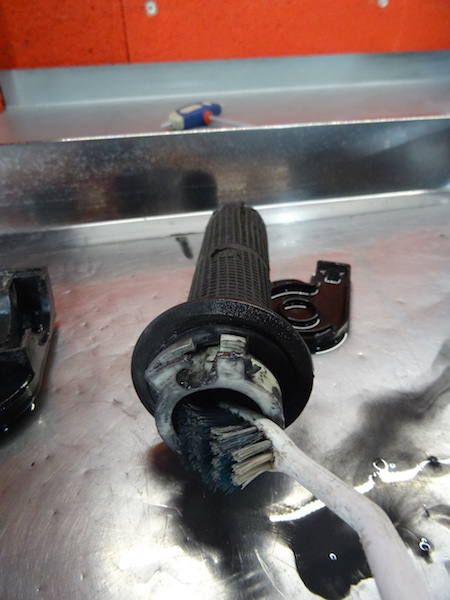
2. Cleaning the gas grip:
At this point we will use a metal tray with gasoline and a brush to clean and degrease piece by piece. We must be especially careful so that the gasoline does not penetrate between the fist and the gas cane. We recommend using an air compressor to dry and clean the parts more thoroughly.


3. Degreasing the handlebars
In the same way, we will use gasoline to clean the entire surface of the handlebar on which the grip rotates.
4. Blows
Sometimes, the impacts that the handlebars receive at the end of the throttle cause the aluminum to splinter, preventing the correct sliding of the grip on the handlebars. We will use a file to remove the deformed material, trying to leave the surface of the handlebar completely uniform.
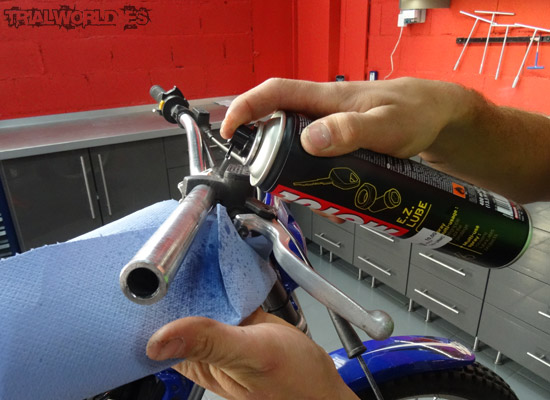
5. Oiling the handlebar
We will use multipurpose oil spray to grease the sliding area of the grip on the handlebars.
6. Assembling the gas grip
For added convenience, you can assemble the gas rod on the work table. Once ready, we will insert it on the handlebars, making sure that it does not stop with the end of the handlebar. Otherwise both would rub, slowing down the movement of the accelerator rod. After this point, we can tighten the screws to fix it to the handlebars and finish by inserting the cable and the gas cap.
7. Throttle clearance
It is essential to adjust the clearance of the throttle grip for several reasons:
– An excessively tight throttle can cause the bike to accelerate when turning the handlebars.
– On the contrary, excessive clearance will cause the bike’s response to the throttle to be too slow, producing a delay between the immediacy that the rider expects when accelerating and the resultant causing imprecision in the riding.
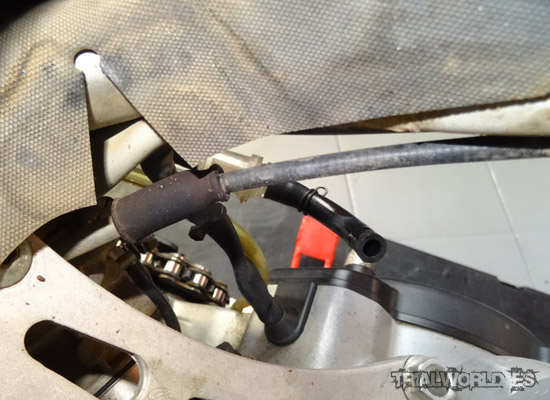
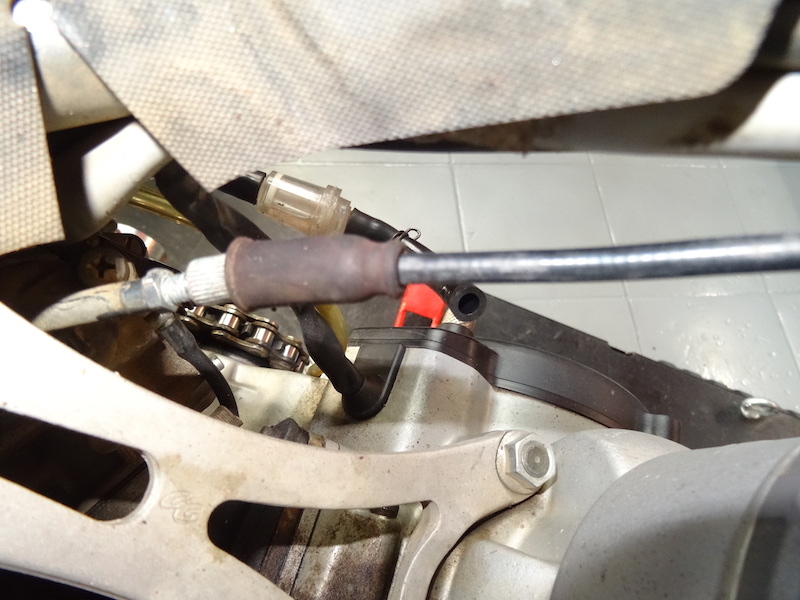
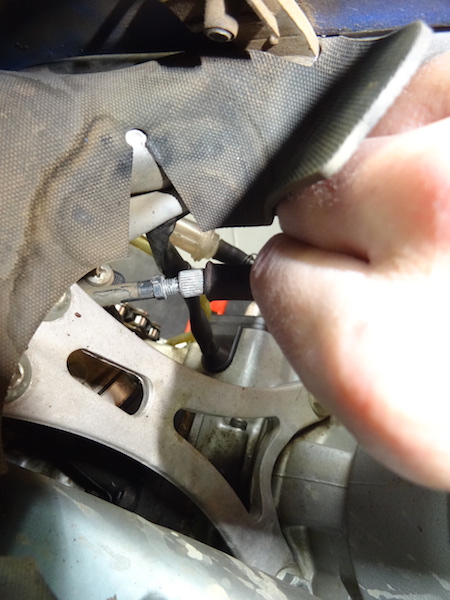
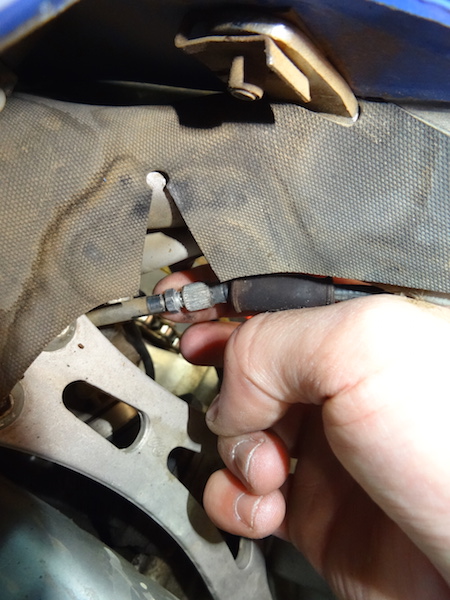
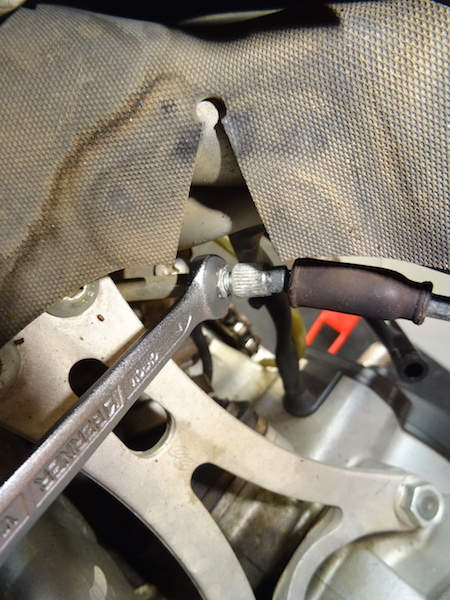
It is recommended that the throttle has a clearance of between 1.5 and 3 mm depending on the tastes of each rider. Gas cables can have two types of adjustment. One over the entry of the cable to the carburetor and one over the entry of the cable to the throttle grip.
If the adjustment is made through the carburetor, we recommend removing the tank for more comfortable access. In both cases, we will proceed by loosening the locknut that will allow us to tighten or loosen the cable until we find the recommended clearance. Once adjusted, we will tighten the lock nut to prevent vibrations from modifying the regulation.