The final stretch of an exhaust of the trial bike is easily broken by falling or excessive support of the rider on the rear fender, and can be easily replaced without the need to change the entire exhaust.

At
Trialworld Garage
we explain, step by step, how you should replace the final section of the exhaust silencer on a trial bike, taking in this case a Gas Gas TXT as a reference. It is a component that breaks easily, as it has a high exposure in falls and, in addition, it is made of plastic. Usually the problem comes from the inner anchors, as the pins break and the staples cannot hold the exhaust tail.
WHEN SHOULD THE END OF THE SILENCER BE REPLACED?
It’s pretty obvious. It starts by hanging normally from the top and when screwed we see that you can’t put pressure on the silencer, quickly coming back down. This is nothing more than the beginning of the process, since later, with the movement and impact of the ground, the rest of the temples will end up breaking.
In the motorcycles that this section happens the most is in the Gas Gas TXT
and the TRRS.
HOW DO YOU CHANGE THE FINAL EXHAUST SECTION ON THE TRIAL BIKE?
It is a relatively simple task and the estimated time is between 10 and 15 minutes.
Tools needed: Screwdriver, set of allen wrenches, and possibly a rubber hammer.
Products: Gas
Gas TXT Silent End Stage
or
TRRS Silent End Trial
All of these products are available in the
motor and electrical
section of the
Trialworld Store
ASSEMBLY PROCESS
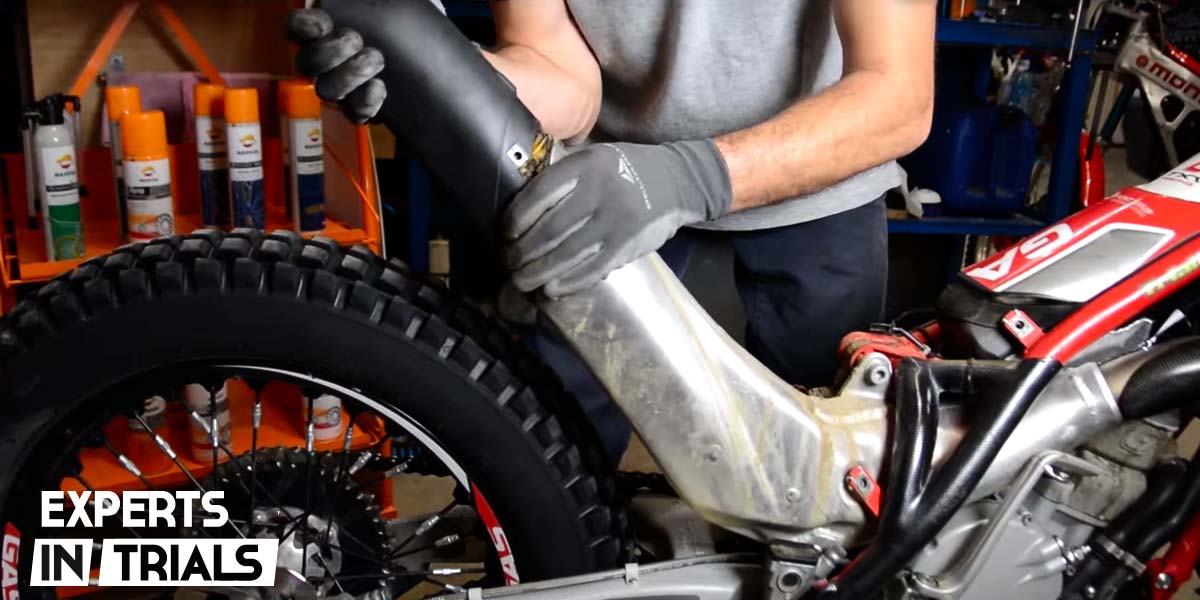
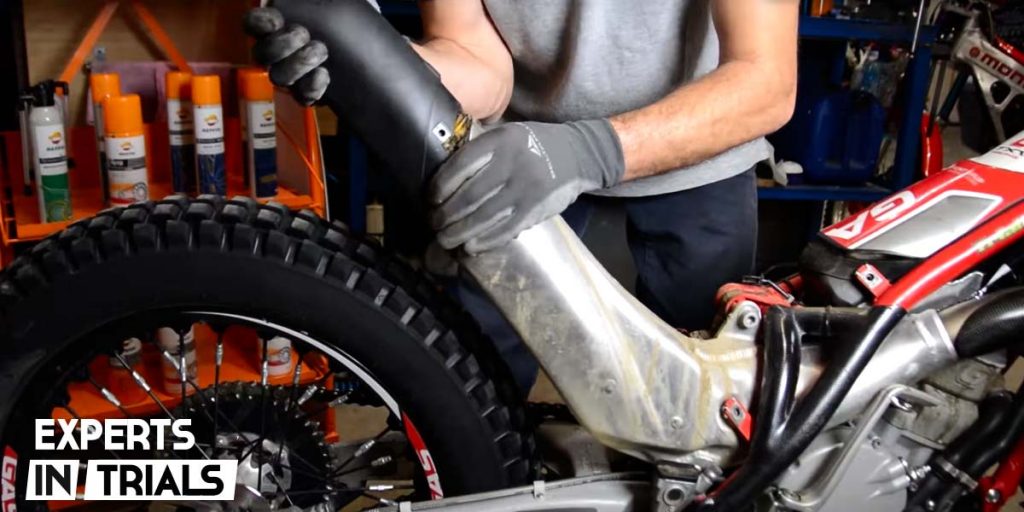
Theoretically it’s quite simple, but it can end up being laborious if we don’t do it step by step. The key is that the spare parts do not include the final aluminum outlet of the silencer, but only the outer plastic casing, so in a first step we must remove the interior of this final section that we are going to replace, respecting all the order and the elements as detailed in the video of this tutorial.
Once the inner part has been removed, we proceed to the assembly in the new final section, placing everything before incorporating it into the silencer and accommodating the exhaust fibre well. Once it’s ready, we place the final stretch on the aluminum muffler, fitting both components together well and remembering to have placed the inner staples on the temples. The process is completed by snapping the screws into the silencer and reinforcing them with screw fixer to prevent them from loosening.