Compared to other motorcycling disciplines, trial is the simplest and most economical specialty, both in terms of equipment for the trial rider and the maintenance of the trial bike.
In trial, there is generally little electronic sophistication. While it is true that in the models with electronic injection (Vertigo and Montesa) there is a little more complexity, in the rest of the combustion models the basic maintenance is very affordable and you can do it yourself without the need for great mechanical knowledge.
The key to avoid surprises and undue aging of the components is to be aware of carrying out a series of periodic tasks and taking certain precautions both before use and after training.

1.- Review and adjustment of the controls on the trial bike
Each pilot, depending on their height and preferences, will position the controls to their liking. If you don’t know what the basic parameters are, we leave you with this report on the
placement of the controls on the trial bike.
It is important that the
gas grip
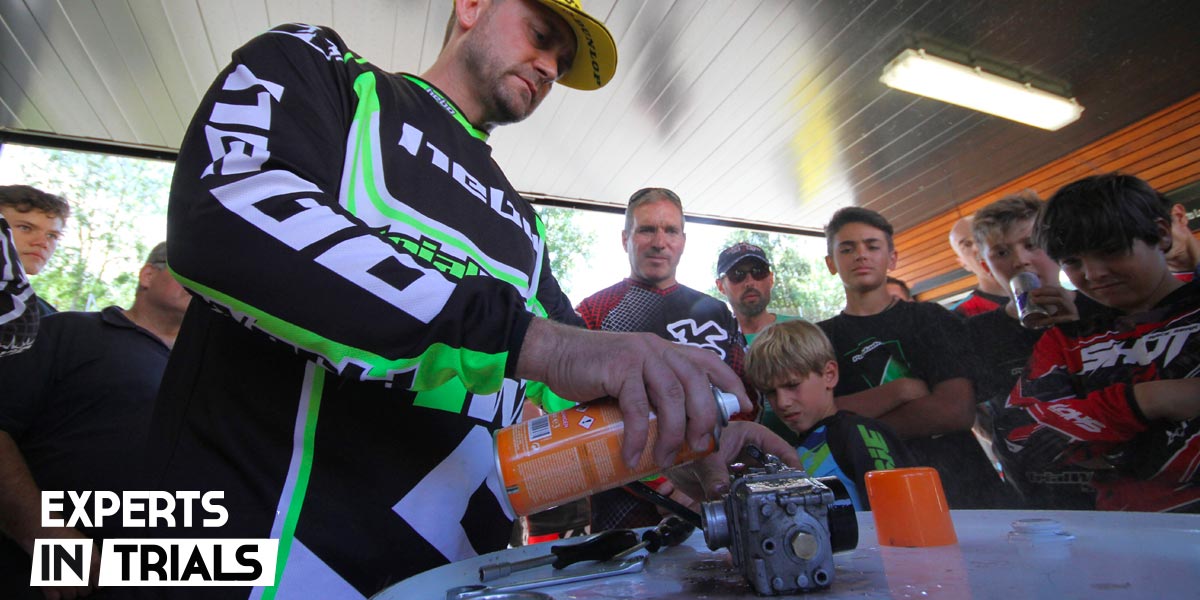
returns correctly to the starting position on its own. If it gets stuck or goes too slow, you must carry out this
operation to clean the throttle
, in this way you will prevent the bike from being accelerated and seizing in an eventual fall. Also check the tightness of the handlebars and levers.
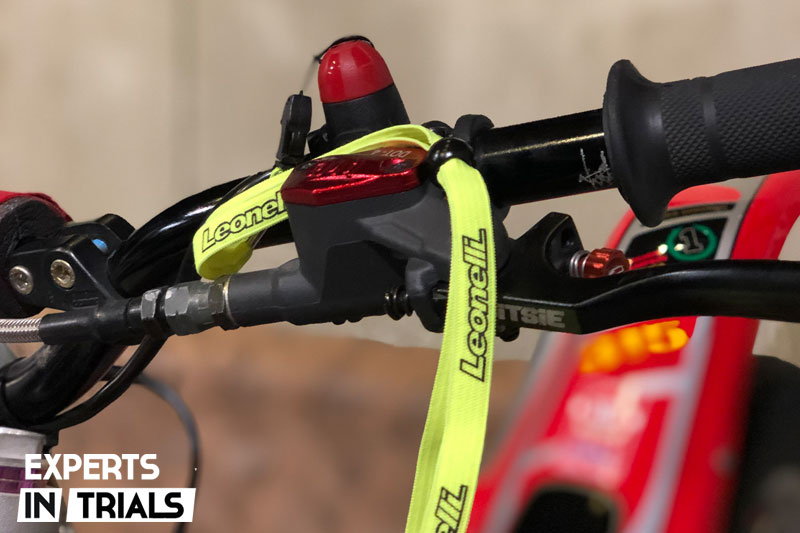
Remember that the lever mounts should not be tightened to the maximum, so that in the event of an impact the control moves and there is no breakage. The
clutch
lever and brake lever themselves must be operated and returned freely, to do this make sure that the screw that supports the
lever
with the control is not too tight. And finally, keep an eye on the tension of the levers, which must have a free play at the end of their travel of a couple of millimetres.
We also leave you a tutorial in case you are interested in
improving the performance of the brakes and clutch of your trial bike.
2.- Operations prior to riding a motorcycle
The first thing, obviously, is the refueling operation. The oil-fuel mixture should not exceed 1.5%, since trial bikes work at low revs and the excess oil will end up forming carbon in our engine and exhaust.
It should be remembered that the 2T blending oil must be synthetic. Here are two examples:
Rock Oil Blend
Oil and
Repsol Blend Oil.
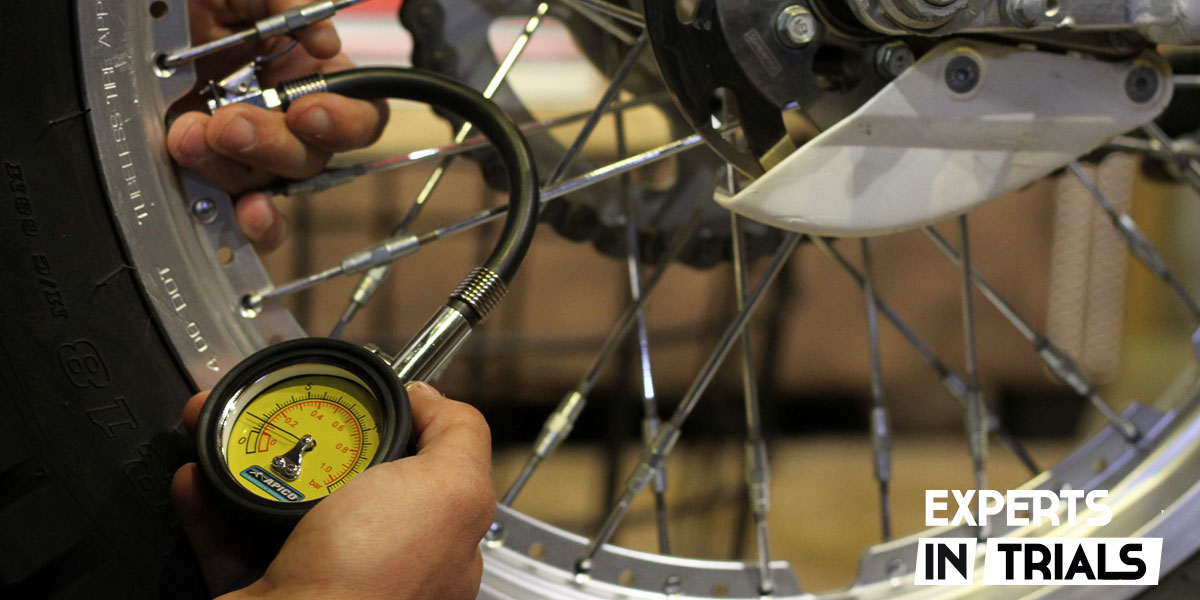
Secondly, always check the
inflation pressures of the trial tyres
according to these tips. The rear wheel will carry about 300 grams and the front wheel 450 grams (we can move 50 grams up or down). Finally, put the choke of the motorcycle as strictly necessary (about 20 seconds) and forget about leaving the motorcycle idling for minutes on the kickstand. Maximum 2 minutes to leave. Warm-up can be done with turns or manoeuvres at low revolutions.
3.- Washing the trial bike and storing it
Once we finish training, we must proceed to wash the trial bike according to these tips. It is important to dry, preferably with pressurized air to avoid rust, and then proceed to greasing. Here we leave you a report with the
20 most important grease points of the trial bike.

For storage, it is best to have a lift or stand for trial bikes, so that both roll in the air. Remember that we have low pressures and storing them too many days with the wheels in the same position could cause malformations in the tyre.
There is also the option of inflating the tires more for storage and when it comes to riding to set the optimal pressures.
4.- Basic maintenance of the trial bike
Within the basic maintenance would be the previous point, which consists of the correct washing, greasing and storage. Additionally, at least every two rides, the air filter of the
trial bike should be cleaned
to ensure that we provide the engine with clean air free of impurities. Actually, the most operational thing is to have a replacement filter and alternate them at each outing. Here you have air filters for all trial bikes.

Another relevant point to check every two or three outputs is the tension of the chain -here we explain the
tension that the chain should have
-. The reference for the correct position is that the chain tensioner must be approximately one finger away from the swingarm.
The carburetor is another key point. Every six rides or so, at most, it is advisable to clean the carburetor. This will prevent small impurities from altering the carburetion and the performance of the bike from being constant. It takes just 30 minutes. Here is a tutorial on how to carburete the trial bike step by step.
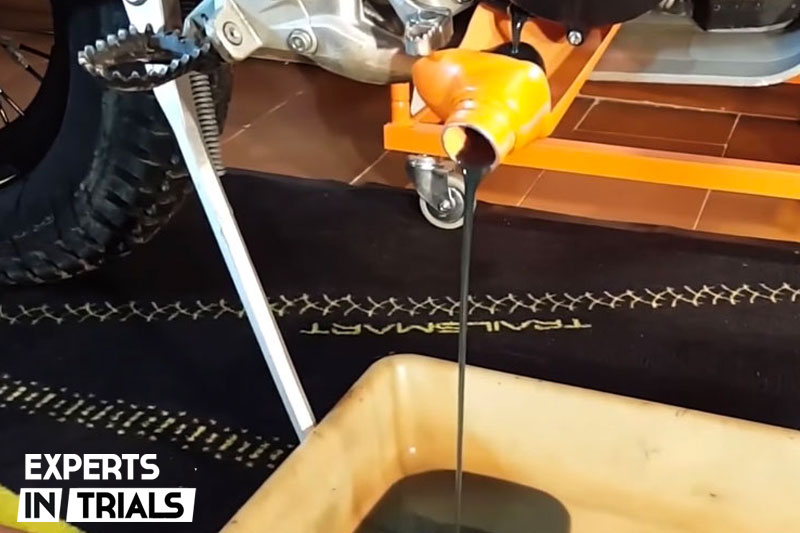
Finally, we would include within the basic maintenance the
oil change on the trial bike according to this other tutorial
. Before proceeding to this point, you should first check the manufacturer’s manual for the amount of engine oil. Then, with the engine warmed up, proceed to the change operation. Most trial engines use a
75w synthetic
oil, although there are models such as the Montesa Cota 4RT (4-stroke) that have two different types of oil, one for the engine and one for the clutch.
5.- Advanced maintenance of the trial bike
Advanced maintenance tasks require a deeper knowledge
of trial mechanics
, especially so as not to aggravate problems on the bike.
We also leave you with other interesting tutorials:
Aguide on how to replace the cylinder and piston on a trial bike.
Tutorial on how to change the transmission kit on the trial bike
Tutorial on Assembling an Engine Temperature Sensor
Tutorial on how to mount footpegs on the motorcycle
Tutorial on changing a tubeless trial rear wheel